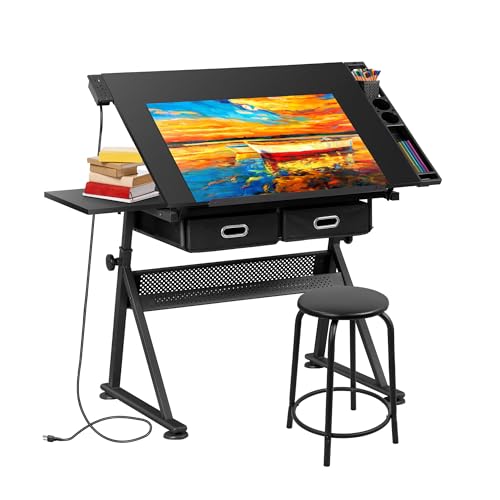
Ultimate Guide to Refinishing Tables
Breathe new life into your old dining table. Our step-by-step guide covers sanding, staining, sealing, and everything in between.
Shop Refinishing ProductsRefinishing a table is one of the most rewarding DIY projects. Whether you're restoring a family heirloom or giving a flea-market find a modern look, this guide will walk you through every step. We'll cover costs, materials, techniques, and expert tips to ensure a flawless finish.
Your Refinishing Journey: Step by Step
1. Assess & Prepare Your Table
Start by examining your table's condition. Is it solid wood, veneer, or laminate? Solid wood is the easiest to refinish. Check for deep scratches, water rings, or loose joints. Repair any structural issues first. Remove the tabletop from the base if possible, and clean the surface with a mild degreaser. This is also the time to decide on your new color or finish. For inspiration, explore our dining room styles to find a look that complements your home.
2. Sanding: The Foundation of a Great Finish
Sanding is the most critical step. Start with a coarse grit (e.g., 80-grit) to remove the old finish and level the surface. Progress to medium (120-grit) and finish with fine (220-grit) for a smooth, scratch-free surface. Always sand in the direction of the wood grain. Use a random orbital sander for large areas, and hand-sand edges and details. Dust removal between grits is essential. Proper sanding ensures your new stain or sealant adheres perfectly. A well-sanded table is a joy to refinish.
3. Staining or Painting: Choose Your Look
Now the fun begins! Apply a wood conditioner if using stain, especially on softwoods like pine. Wipe on your chosen stain with a cloth or brush, working in sections. Let it penetrate for 5–15 minutes, then wipe off the excess. For a deeper color, apply multiple coats. If you prefer paint, use a high-quality primer and furniture paint. For a modern, minimalist look, consider a modern dining aesthetic with a matte black or white finish. For a rustic vibe, a farmhouse dining style with a weathered gray stain is beautiful.
4. Sealing: Protect Your Hard Work
Sealing is non-negotiable. It protects the wood from spills, heat, and everyday wear. Choose between polyurethane (water-based or oil-based), varnish, or a hard wax oil like Osmo. Apply thin, even coats with a high-quality brush or foam applicator. Lightly sand between coats with 320-grit sandpaper for a silky finish. Two to three coats are ideal for durability. Allow proper drying time as per the manufacturer's instructions. A well-sealed table will last for years.
5. Final Assembly & Care
Once your finish is fully cured (typically 72 hours), reattach the tabletop to the base. Use felt pads on the bottom of the legs to prevent floor scratches. Invest in high-quality table pads and coasters to protect your newly refinished surface from heat, moisture, and scratches. Regular dusting and occasional polishing with a non-abrasive cleaner will keep it looking spectacular. For ongoing care, check out our dining care guides for more tips.
How Much Does Refinishing a Table Cost?
The cost of refinishing a table varies depending on the size, condition, and products you choose. Below is an estimated breakdown for a standard 6-seater dining table (approximately 36" x 72").
| Item | Estimated Cost |
|---|---|
| Sanding Paper (assorted grits, 10 sheets) | $15 – $25 |
| Wood Conditioner (1 quart) | $10 – $18 |
| Wood Stain (1 quart) | $12 – $30 |
| Paint/Primer (1 quart, if painting) | $20 – $40 |
| Polyurethane or Varnish (1 quart) | $18 – $35 |
| Brushes, applicators, tack cloth | $10 – $20 |
| Safety gear (mask, gloves, goggles) | $15 – $30 |
| Total DIY Cost (approx.) | $100 – $200 |
*Costs are estimates and may vary based on brand, quality, and region. Professional refinishing can cost $400–$800+, but DIY is a cost-effective alternative.
Pro Tip: Always test your stain and finish on a scrap piece of wood or an inconspicuous area first. This ensures you achieve the exact color and sheen you desire before applying to the entire table. Patience is key – rush the process, and you'll risk uneven results. A beautiful refinish is worth the extra time.
Need more guidance? Explore our comprehensive guides on solid wood care and upcycled furniture ideas. If you're considering a new table instead of refinishing, browse our dining tables collection for inspiration.
Top Products for Refinishing Your Table
⚠️ AFFILIATE DISCLOSURE: This website contains affiliate links. As an affiliate Associate, we earn from qualifying purchases. If you make a purchase through these links, we may receive a small commission at no additional cost to you. Read our full affiliate policy.

Furniture Refinishing For Beginners: Learn Essential Surface Preparation, Repair, Painting, Staining, and Finishing Techniques Through Beginner-Friendly Projects

Furniture Refinishing Made Simple: A Beginner’s Step-by-Step Guide to Repairing, Sanding, Painting, Staining, Sealing, and Upcycling Wood Furniture for Your Home

DWIL White Paint Touch Up Paint Pen- 1.5 Oz Wood Furniture Paint for Wood Refinishing, Quick-Dry White Paint for Wood Scratches, Chips and Spots on Furniture, Cabinets, Doors, Tables, Dressers (White)
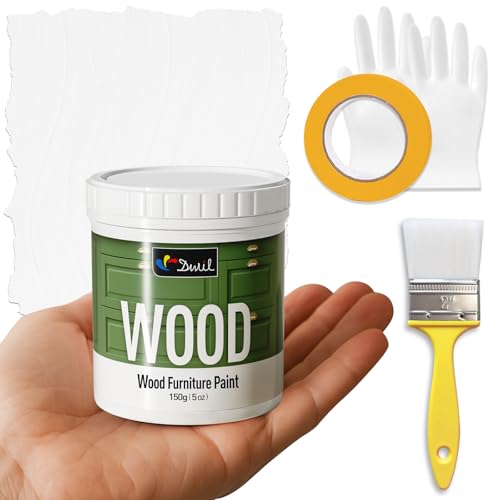
DWIL Matte Finish Furniture Paint - 5 Oz White Paint for Wood Cabinets, Doors, Tables, and Dressers Refinishing - Water-Based, Non-Toxic & Odorless, Easy to Apply(White)

Ultimate Guide to Furniture Refinishing & Repair, 2nd Revised Edition: Restore, Rebuild, and Renew Wooden Furniture (Creative Homeowner) Over 500 Step-by-Step Instructions, Photos, & Detailed Drawings

Understanding Wood Finishing, 3rd Revised Edition: How to Select and Apply the Right Finish (Fox Chapel Publishing) Practical Guide with 350 Photos and 40 Reference Tables for Furniture and Cabinets

Hupeyna Wood Furniture Repair Kit, 12 Colors Wood Repair Kit, Wood Fillers